- PRODUCTS RANGE
- Special Hardness testing machine EASYDUR for metal industry and forges
- Food Control
- Manual measurement, hand tools
- Spring testing machine EASYDUR
- UTM, Universal testing Machine tensile & compression
- Weights & Balances – Mass measurement – Force measurement – Torque measurement
- Height gauge, height caliper and surface plate
- Coordinate Measuring Machine and Vision measuring system
- Microscope, Stereoscopic magnifier
- Roughness tester, Surface and profile measurement
- Hardness testing machine
- Metallography equipment, Metallography consumables
- Dynamometers and accessories
- Torquemeter and accessories
- Thickness measurement – Temperature measurement – Speed and time measurement
- High precision spirit levels, Electronic inclination measuring instruments
- Services
- CORPORATE
- Catalog and promotion
- Technical documentation
- User manuals
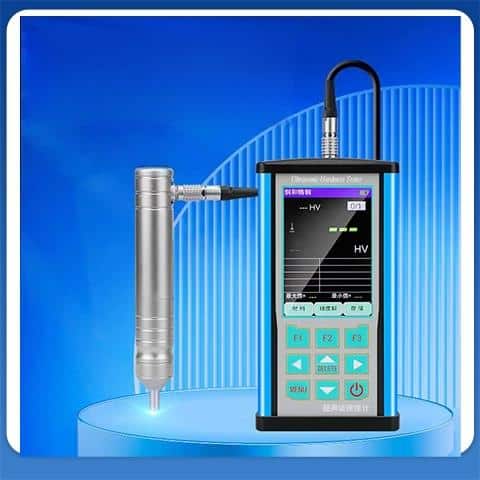
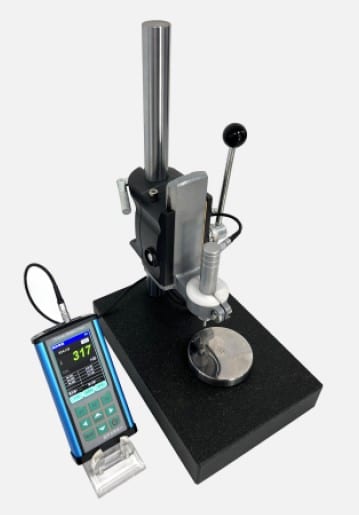
Ultrasonic metal hardness tester – THU271
The THU 271 ultrasonic hardness tester is a device designed to measure the hardness of metallic materials using the ultrasonic principle. It can be used to assess the hardness of common materials such as steel, cast steel, copper and aluminium alloys.
The device has three ‘user material’ profiles with a configuration wizard, enabling measurements to be carried out quickly on specific or new materials.
This feature considerably extends the scope of the hardness tester’s applications.
Key features of the THU271
-
Standard: GB/T 34205-2017
-
Method: ultrasonic contact impedance for measuring the hardness of metals
-
High-precision measurement over a wide range of materials
-
Dual display: Vickers (HV) and selectable secondary hardness scale
-
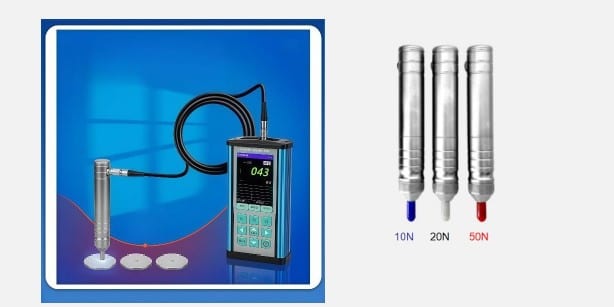
Special electronic design with hot plug support for probes, automatic recognition of applied force
-
Parallel conversion of conventional scales: HV, HB, HRA, HRB, HRC
-
Three customised material sets for easy testing of special materials
-
3.5″ IPS colour display, fully digital, responsive, with wide viewing angle
-
Multilingual display: Chinese / English, ergonomic menu
-
Adjustable screen brightness to suit the environment
-
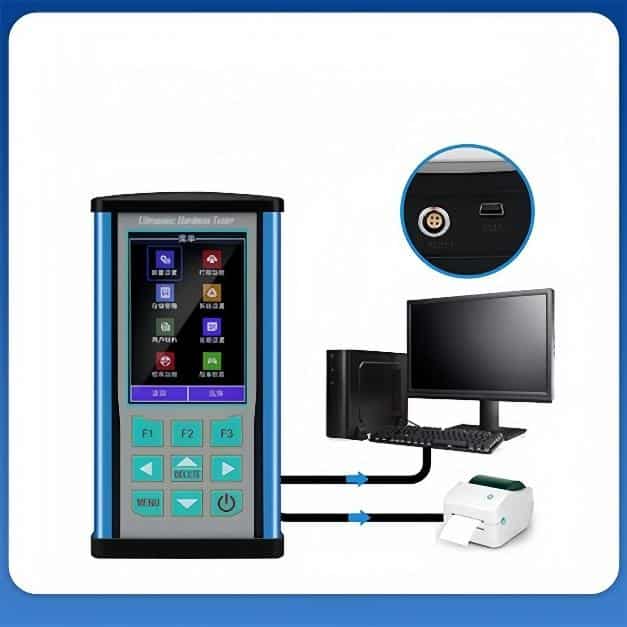
USB interface for rapid data exchange and configuration via PC
-
Main unit compatible with multiple probes, automatic identification without recalibration
-
Software calibration function for measured values
-
Configurable automatic alarms for out-of-limit values, practical for serial testing
-
Compact, robust metal case, resistant to vibration, shock and electromagnetic interference
-
Measurement of special materials possible via user profiles
-
Battery indicator and charging process monitoring on screen
-
Stores up to 600 measurement series, including all relevant information (date, probe type, material, frequency, max/min/average values, etc.)
-
Rechargeable 3.7 V lithium-ion battery, autonomy ≥ 20 hours, power-saving functions
Typical THU-271 hardness tester applications by test force
| Test force | Typical applications |
|---|---|
| 98 N | Forgings, welds, thermal impact zones |
| 50 N | Induction-hardened and case-hardened layers on machine tool parts (camshafts, turbines, welds, heat-affected zones) |
| 20 N | Flanges, gears, stampings, moulds, crankshafts, turbine rotors |
| 10 N | Ion nitrided layers and forgings for stamping dies |
| 8 N | Precision parts, gearboxes, bearing rings |
| 3 N | Coatings (copper, chrome), hardening of low-pressure cylinders (thickness ≥ 0.02-0.04 mm) |
| 1 N | Thin coatings, polished surfaces |
Additional feature
-
Measuring direction: perpendicular to the surface
-
Hardness scales: Vickers (HV), Brinell (HB), Rockwell B (HRB), Rockwell C (HRC), Rockwell A (HRA)
-
Display: Vickers + secondary scale
-
Materials: steel, cast steel, cast aluminium alloys, pure copper
-
User profiles: 3 types with configuration wizard
-
Display: 3.5-inch colour IPS, 480 × 320 resolution
-
Probe: automatic identification + manual adjustment, hot plug support
-
Storage: up to 600 measurement groups, 1 to 32 measurements per group
-
Power supply: 3.7 V lithium-ion battery
-
Autonomy: ≥ 20 hours
-
Recharge: 5 V / 1000 mA
-
Communication: USB 2.0
-
Dimensions: 159 × 83 × 39 mm (main unit), Ø 22 × 141 mm (probe)
-
Weight: 370 g (main unit), 210 g (probe)
- Accuracy and repeatability: see Tables 2 and 3
Table 1 – Maximum permissible relative error (Erel / %)
| Hardness of standard block | HV1 | HV2 | HV5 | HV10 | HV0.1 | HV0.3 | HV0.8 |
|---|---|---|---|---|---|---|---|
| < 250 HV | ±4 % | ±4 % | ±4 % | ±4 % | ±5 % | ±5 % | ±4 % |
| 250 HV to 500 HV | ±4 % | ±4 % | ±4 % | ±4 % | ±6 % | ±6 % | ±4 % |
| > 500 HV to 800 HV | ±5 % | ±4 % | ±4 % | ±5 % | ±7 % | ±7 % | ±5 % |
| > 800 HV | ±6 % | ±4 % | ±4 % | ±4 % | ±8 % | ±8 % | ±6 % |
Table 2 – Maximum permissible value of relative repeatability (rrel / %)
| Hardness of standard block | HV1 | HV2 | HV5 | HV10 | HV0.1 | HV0.3 | HV0.8 |
|---|---|---|---|---|---|---|---|
| ≤ 250 HV | 8 % | 5 % | 5 % | 5 % | 8 % | 8 % | 8 % |
| > 250 HV | 6 % | 5 % | 5 % | 5 % | 6 % | 6 % | 6 % |

